Your Cart is Empty
Proper rigging is critical, the key factor that decides whether you'll reel in the big ones. It's more than just attaching lures; it's about understanding the details that shore up your offshore trolling setup. From the way your lures move through the water to the careful selection of each component, every little thing adds to your success.
Our mission is simple: to help you become a rigging expert in the world of offshore trolling lures. Whether you're a weekend warrior looking to level up or a seasoned pro in search of fresh insights, we have something just for you.
Welcome to the ultimate guide on rigging offshore trolling lures – where every bait is a shot at the catch of a lifetime!
Topics discussed:
ESSENTIAL RIGGING COMPONENTS FOR OFFSHORE TROLLING LURES
TYPES OF OFFSHORE TROLLING LURES AND RIGGING
Join us as we break down the ins and outs of offshore trolling rigs, uncovering the techniques that make your saltwater fishing a success. If you've ever wondered how the right rigging can take your fishing to the next level, you're in the right spot.
Regardless of the type of rigging, several components come together to form the entirety of the rig. Choosing appropriate components is critical to the overall quality for the saltwater trolling rig. Let's delve into the key elements needed for effective offshore trolling lure rigging.
The recommendations presented in this article will optimize rigging for about 90% of fishing situations and will always be a good overall choice.
Main Line: Two available options include monofilament and braided lines. Monofilament line is a cheaper, larger diameter option. One main advantage of monofilament is the stretch it offers providing a cushion against sudden strikes.
The second option is braided line. Braided line is a smaller diameter line with zero stretch but providing greater sensitivity.
The optimum setup is a base of braided line with a monofilament top-shot of 100 yards or so.
Join braid and monofilament lines using an FG or double uni-knot.
Leaders: Leaders provide a section of durable line between the main fishing line and the lure. Three main options for leader material include monofilament, wire and fluorocarbon.
Monofilament leader is the preferred leader material in most situations. Resist the temptation to use a monofilament top-shot as the leader. Using a leader instead offers the opportunity incorporate a swivel into the rig that minimizes twisting.
Flourocarbon is expensive but is nearly invisible in water. Use it for leader-shy species including tuna.
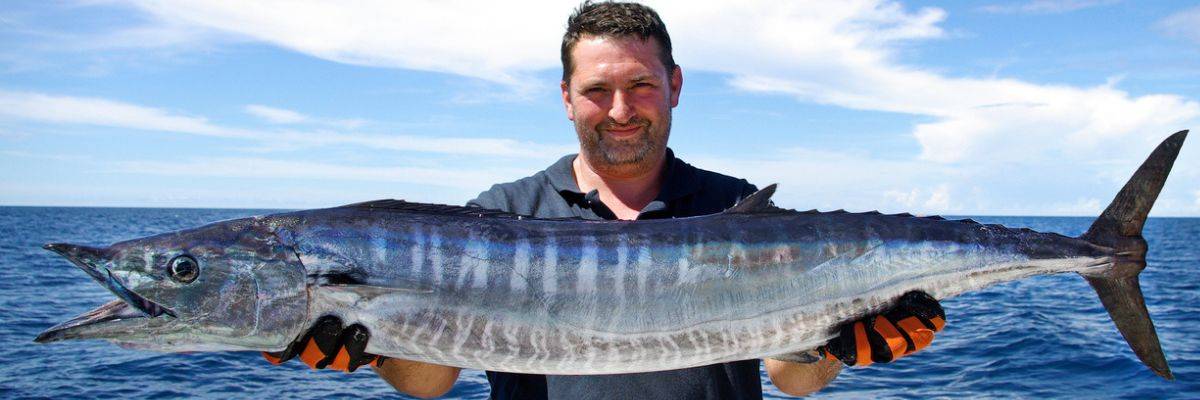
Wire leaders are advisable when specifically targeting “toothy” species like king mackerel and wahoo. 7-strand wire is a good choice as it is less prone to kinking and ties easily. Continue with monofilament leader if you "might" encounter a king mackerel or wahoo. Often those species will be lip hooked and will be landed even on monofilament leader.
Choosing the right strength of leader and main line depends on the size and species of the target fish. Consider the drag setting you will be using and a good rule of thumb is to have a main line strength of around 4x the drag setting.
Swivels: Swivels prevent line twists caused by the spinning motion of trolling lures in the water. They allow the lure to move freely without imparting rotation to the fishing line. Choosing high-quality ball bearing swivels ensures smooth rotation, reducing the risk of line tangles and maintaining the lifelike action of the lure.
Crimps: Crimps are metal sleeves used to secure the connection between the leader and terminal tackle, such as hooks or swivels. Crimps become necessary when using leaders larger than about 60 lb test. They ensure a strong and reliable attachment. High-quality crimps maintain the integrity of the rigging, preventing failures during the battle with powerful offshore game fish. Aluminum crimps properly sized to match the leader diameter are a good choice.
Hooks: Hooks are the critical point of contact between the rigging and the fish. The right hook style depends on the target species, lure type, and fishing conditions. Using corrosion-resistant hooks, such as those made of stainless steel, helps preserve the sharpness and strength of the hook, ensuring a secure hookup when a fish strikes. Choose hooks manufactured by quality companies like Mustad and VMC.
Offshore trolling opens a vast array of possibilities when it comes to lure selection. Each type of lure is designed to mimic different prey, attract specific species, and exhibit unique swimming actions. In this guide, we'll provide an overview of various offshore trolling lures and walk you through how to rig each one for optimal performance.
Diving Plugs: These are solid-bodied lures with a pronounced diving lip. They are effective at reaching considerable depths and are known for their durability. Diving plugs often produce erratic swimming actions, mimicking distressed baitfish.: Diving plugs are designed to dive to specific depths, imitating wounded prey. They come in various shapes and sizes, each with a unique diving capability.
Attach the diving plug to the leader of appropriate leader material using a loop knot or snap swivel. Do not tie the diving plug directly to the leader. This can impede the action of the lures.
Adjust the leader length to control the diving depth. Ensure the plug is swimming straight for optimal action.
Soft Plastic Lures: Plastic trolling lures come in a variety of configurations. They are usually differentiated by their face style. Each different style has a different action including plungers, chuggers, scoop face/slant head, bullet heads, and jet head/bubblers.
All of these lures are rigged by threading the appropriate leader material through the lure and securing the hook to the leader, usually using a crimp.
Natural Bait Rigs: Ballyhoo are a natural baitfish and have become a staple in offshore fishing. Other natural baits include squid, cigar minnows, bonito, among others. Ballyhoo rigs involve securing the baitfish to the lure, creating a realistic swimming action. Ballyhoo rigs may be used with or without trolling skirts. Trolling skirts come in a variety of colors and sizes.
Bait prep is a critical step to ensure ballyhoo always perform optimally. Some of the key steps for prepping baits are as follows:
Quality baits- Offshore fishing is way too expensive to jeordardize a trip with poor quality baits. Baits should be fresh with clear eyes, minimal blood, and not refrozen.
Thoroughly thawed- This is a very important step. Partially thawed baits will likely have a bow to them and will not swim properly. Always thaw baits in saltwater to keep the bait firm.
Remove the eyes- The eyes are typically removed so they don’t get distorted unevenly and cause the bait to spin.
Remove the fins- Many anglers clip off the ballyhoo’s pectoral fins to make the ballyhoo more streamlined with less opportunity for the bait to distort and spin.
Empty the digestive tract- By running your finger along the under-belly of a thawed ballyhoo from the pectoral fins down toward the anus, this will push out the feces and empty the digestive tract. This is good practice and helps to ensure a limber, flexible bait.
Limber the bait up- Lastly, grasp the ballyhoo firmly slightly behind the pectoral fins and flex the tail back and forth in a simulated swimming motion. As the bait begins to limber up, increase the flexure in a more S-shaped pattern. The idea is to get the bait as flexible as possible with the goal of producing a natural swimming motion as it is trolled through the water.
Brining- Consider brining baits for added durability and color. A brined bait can withstand the trolling environment better and may be more attractive to fish.
The most common method for rigging ballyhoo is pin rigging. Key steps include:
Arrange the ballyhoo on a table and position your rig adjacent to it. Align the pin where the chin pin will emerge through the middle of the top lip.
Mark the ballyhoo so the hook will come out where you want it on the ballyhoo.
Thread your hook between the gills of the ballyhoo, emerging precisely at the marked point.
Position the hook's eye in the middle, just below the gills.
Insert the chin pin through the bottom lip and out through the top.
Utilize a small rubber band, attaching one end to the chin pin. Wrap the rubber band twice around the ballyhoo's nose and secure the open end back over the chin pin.

Pin-rigging ballyhoo takes some practice but is very effective.
TrollTrue lures offer a fast, easy alternative to pin-rigging ballyhoo.
They can be used to troll ballyhoo in the most natural way possible and can be expertly rigged by anyone.
